I received a request from a very special mom to post a tutorial on getting pictures from the internet down into the iPad. It's a reasonable request---when I first wanted to do this, I had to make an emergency call to our assistive technology team. So, here is a quick and easy way to save pictures, and then from there import the pictures into Proloquo2Go.
Getting pictures to the iPad from the internet is SUPER easy and no computer needed.
The iPad has wifi so you can do a google search right on the iPad. If you don't have wifi turned on, you can turn it on in the settings menu on the ipad main screen. After turning on wifi, touch the Safari icon to get on the internet.
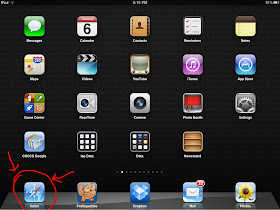 |
| Touch Safari to open the internet |
On the top right corner of your internet screen, you will see a search window that will let you put in a word or words to do a google search. Type in some words and when your search results come up, you can go to the top of the screen and change from a web search to an image search.
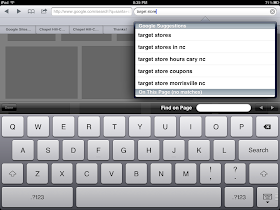 |
| search for the image |
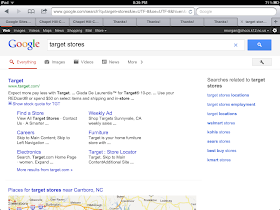 |
| This is the result of the search--look at top left and touch 'images' |
 |
| result after you touched 'images' |
When you find an image you want, touch it and hold briefly on the picture. A command window will come up that allows you to save the picture. Touch "Save Image".
Touch that, and the picture will be sent to your photo album on the iPad (there is a Photo icon on the ipod main screen that you can use to get to the picture album).
 |
| This is the picture that was saved into the iPad photo album. |
|
Now that you have your picture, go to the photo album. (Close out Safari unless you want to get more pictures.)
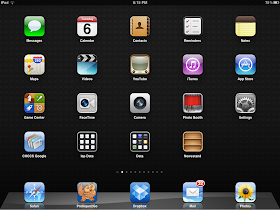 |
| Touch the lower right flower picture to open your photos. |
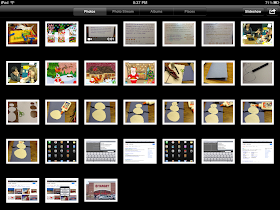 |
| This is the photo album. You can see that 'Target' is the last picture. |
To put the "Target" picture into Proloquo2Go, open that app. Hopefully you know how to use this app a little and add items. If you need a lesson on the basics,
go to the online tutorial page here.
To add a photo, once you get into 'add item' in Proloquo2Go and name the item 'Target', you touch the center part where it says 'Add photo or symbol'. You want to 'Choose a Picture'.
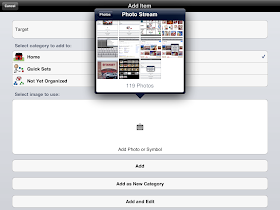
Once you touch 'Choose a picture', a pop up will show your photo stream. You can scroll through this, and then touch the picture you want.
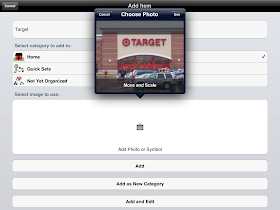 |
| Once your picture is aligned correctly, touch "use" in the upper right corner |
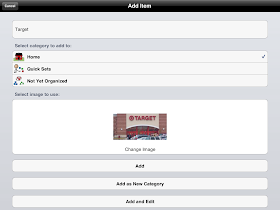 |
| Touch "Add" |
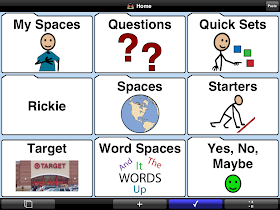 |
| Now your child can ask to go to his favorite store!!!! |
If you have Proloquo2Go, I encourage you to look at the online trainings---v
ideos, website tutorial, and occasionally there is a Webinar. This app has lots of potential for helping kids, and there are many tricks and techniques for customizing it to fit your child's needs.


 Once you touch 'Choose a picture', a pop up will show your photo stream. You can scroll through this, and then touch the picture you want.


Thank you!!! You would not believe how tedious I was making this. I had no idea that if you held the picture, the command box would come up and I could simply choose "save". So I was bringing a pic up in google images and then taking a screenshot and then trying to manually edit the pic and get the address line out and make it an appropriate size. I'm also curious to watch the videos on PLQ2G, as I'm certain I am under-utilizing this great app.
ReplyDelete